How to Add a Progressive Blur to a Website Screenshot
The gradient blur that fades a long page into the background — what it is for, and the four sliders that control it.
2 min read

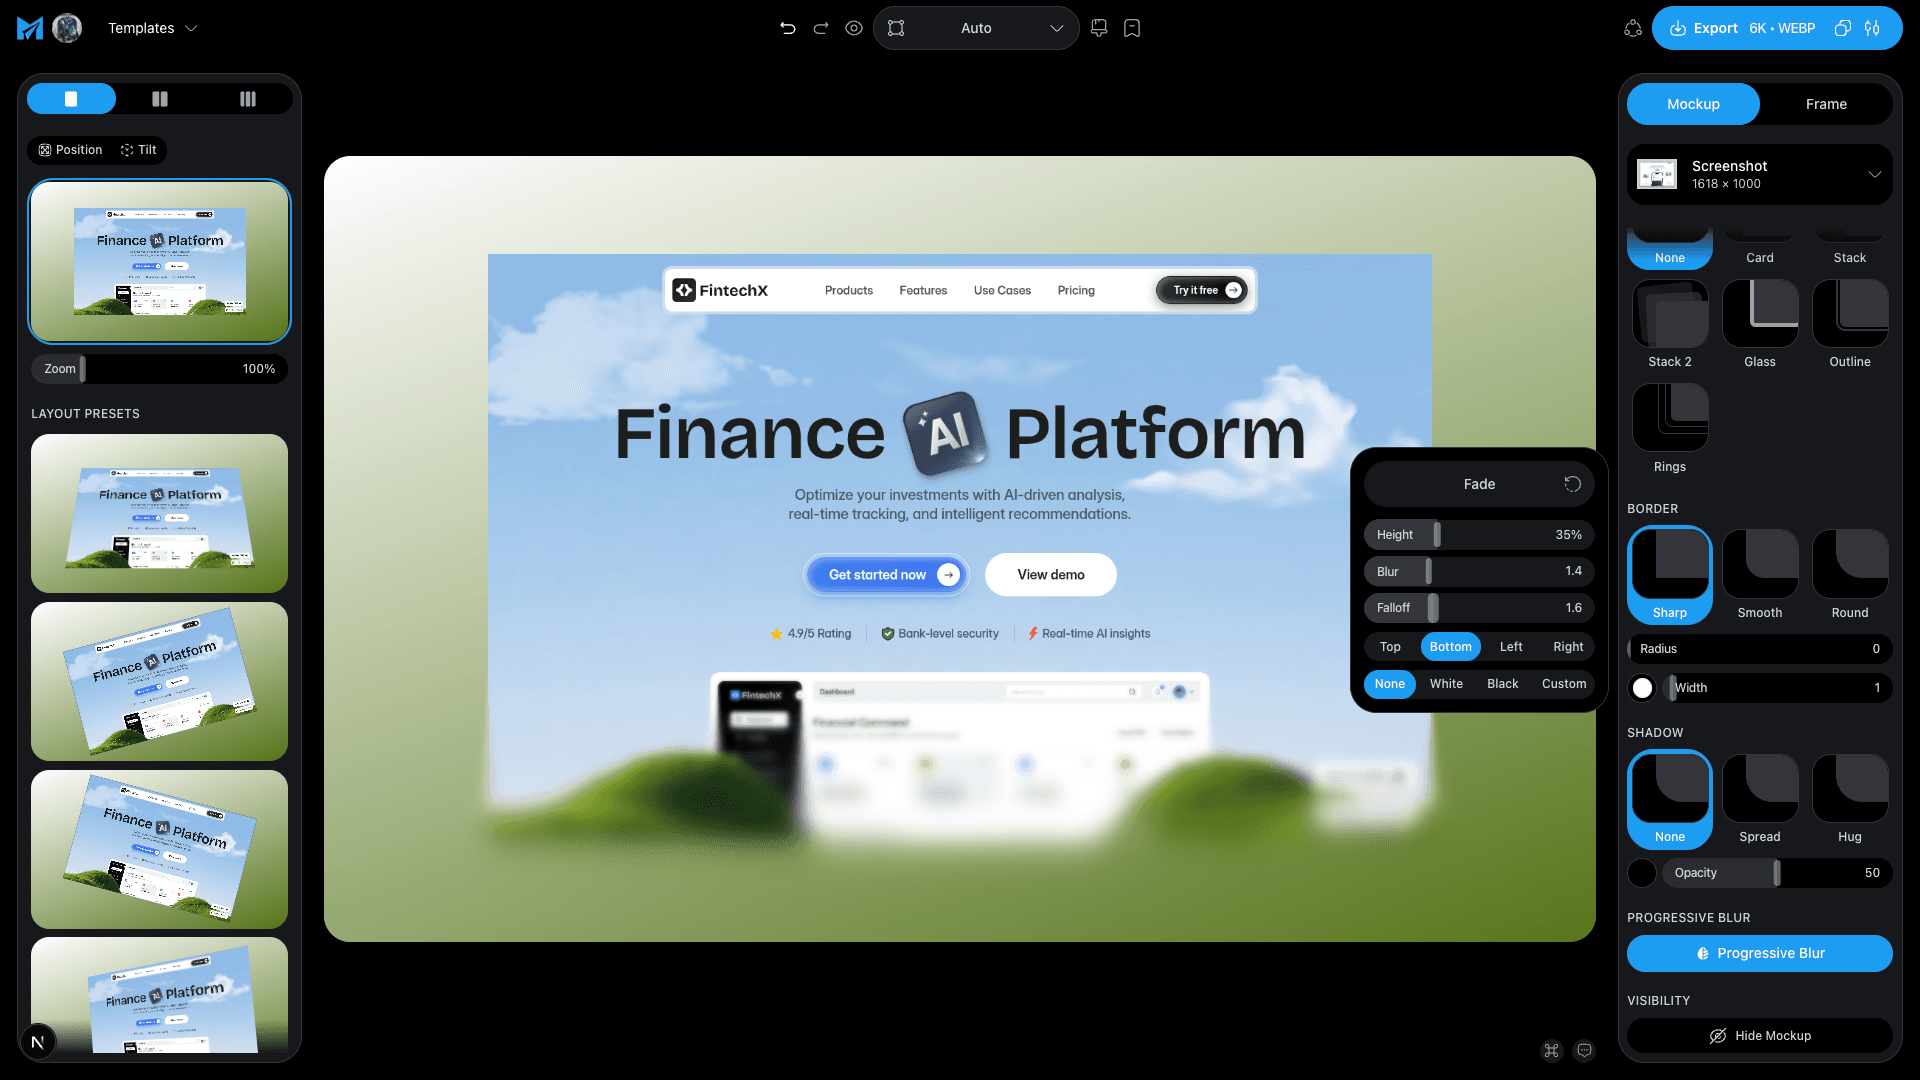
A progressive blur is a blur that gets stronger as it goes. Instead of one flat blur across a region, the effect ramps from perfectly sharp to completely soft over a distance — so an image can dissolve into its background rather than stopping at a hard edge.
It earns its keep on long screenshots. A full landing page is far taller than any feed will show, and cropping it mid-section looks like a mistake. Fade the bottom instead and the crop becomes deliberate: the viewer reads the top, understands the page continues, and nothing looks cut off.
The four controls
Edge
Which side the fade runs from — top, bottom, left or right. Bottom is the usual choice for a tall page; top works when you want a header to sink behind overlaid text.
Height
How far into the image the effect reaches, as a percentage. Around a third is a good starting point. Past half it stops reading as a fade and starts reading as a mistake.
Blur
How soft the far end gets. You want the last few percent genuinely unreadable — a fade that stops at 'slightly fuzzy' looks like an out-of-focus photo instead of an effect.
Falloff
How quickly it ramps. A gentle falloff keeps most of the page sharp and rushes the blur at the very end. A steep one starts softening earlier and feels heavier.
There is also an optional tint — white, black or a colour of your own — layered over the fade. Matching it to your backdrop is what makes the screenshot look like it is dissolving into the page rather than sitting on top of it.
Getting it right
The test is simple: if you notice the blur before you notice the page, it is too strong. The effect is meant to resolve an awkward crop, not to be the thing people look at. Set the height first, then raise the blur until the bottom edge is genuinely gone, then leave it alone.
Do it last, after the frame and the backdrop are settled, once you can see what the finished website screenshot actually looks like.
Try progressive blurTags
Share
More from the blog

How to Take a Full Page Screenshot That Looks Good
Every browser can capture a whole page without an extension. Here is how, and how to frame the tall image you end up with.
How to Add a Browser Frame to a Screenshot
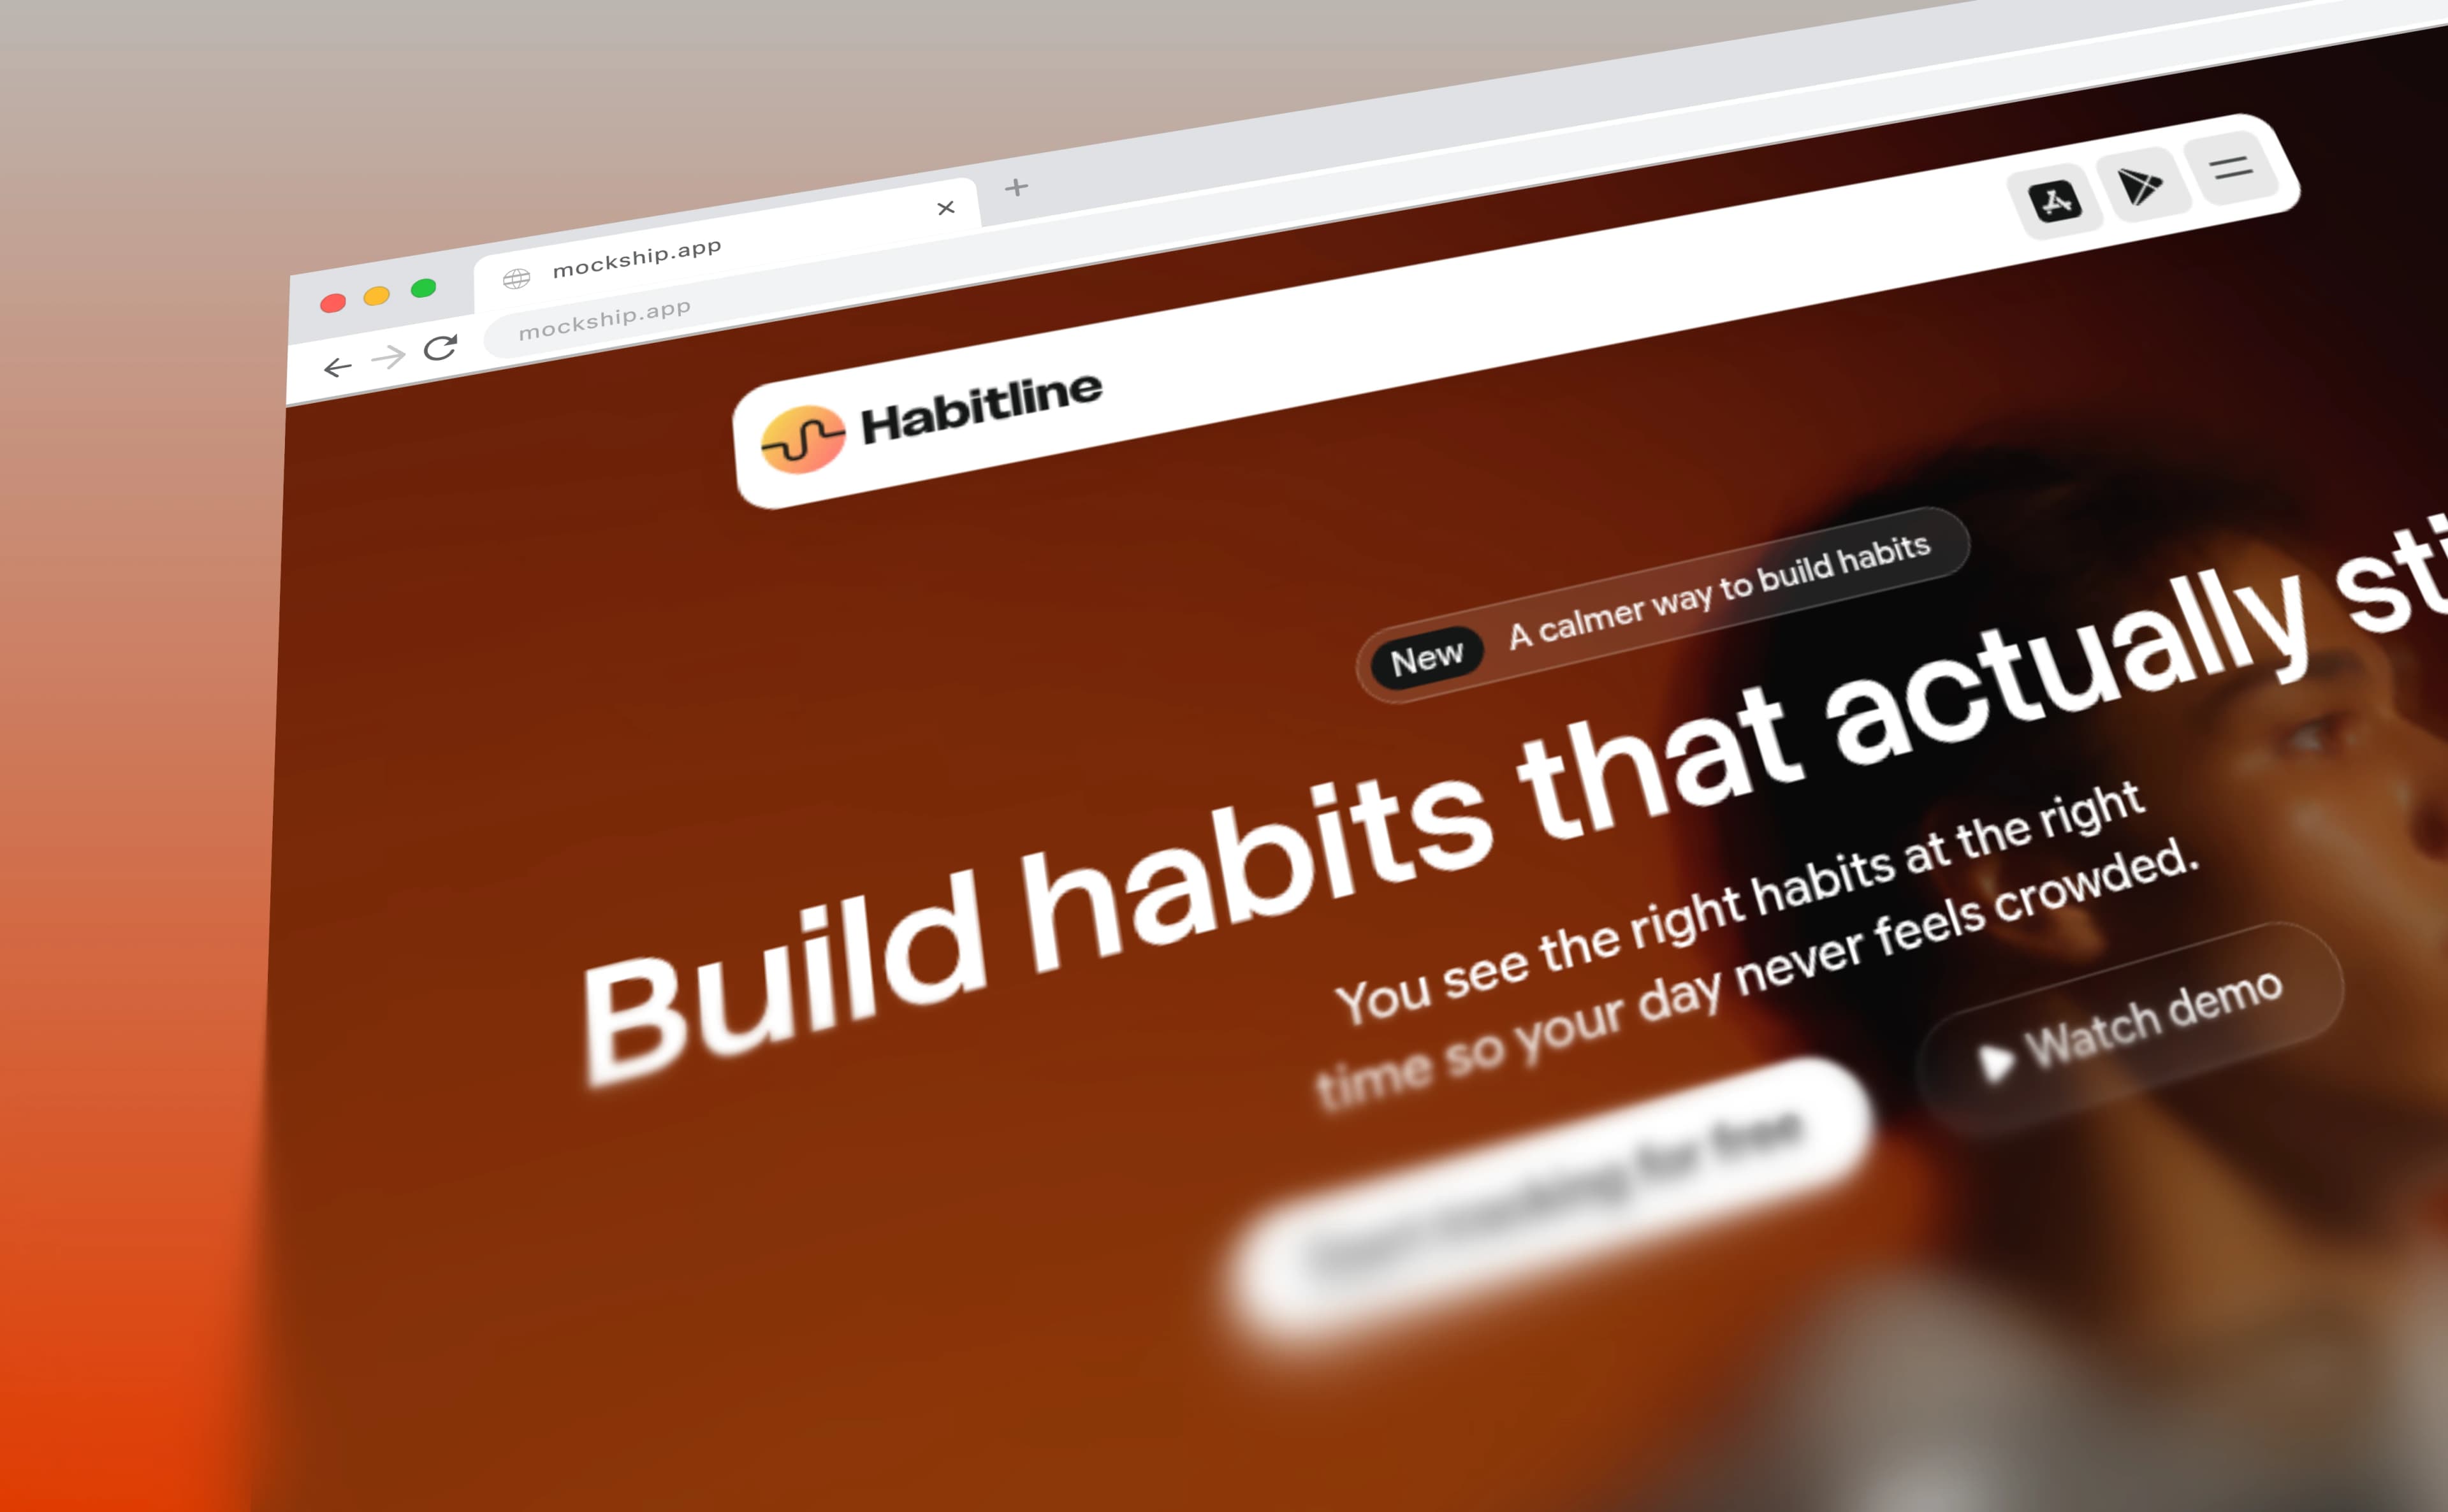
The window chrome that turns a flat capture into a website — with your own domain in the address bar and your favicon on the tab.

How to Create Beautiful Website Screenshots
What separates a capture that looks like evidence from one that looks designed — the frame, the backdrop, the shadow and the size you export at.